Ah..I DO remember the first thing I ever sewed. A blue and white dress for my Barbie doll. Mama was making blue Easter dresses for my Sis and I and I asked for a scrap of the blue fabric. I remember sitting under the kitchen table where Mama was set up to do her sewing. I was seven. I received a child's sewing machine for the prior Christmas and this was my first real project! I remember the machine being in a wooden box...this is as close as I can come to what I remember the machine looking like:
I made tons of Barbie clothes on that machine.Tuesday, December 15, 2020
Monday, December 14, 2020
2020 31 Day Blog Writing Challenge - Day Fourteen - Show Us Your Fabric
I don't have nearly as much fabric as some quilters. But, it is mostly enough for me. I have lots of Fat Quarters but not much yardage. Since I mostly do applique projects, I really only need yardage for backgrounds.
Here is a column of fabric in the end of the closet:
Some day I will get the other stuff out of my studio and have enough space to put in shelves in the closet. Other stuff includes boxes of books from my kids and old clothes.
Sunday, December 13, 2020
2020 31 Day Blog Writing Challenge - Day Thirteen - My Least Favorite Color
I don't have a color that I really don't like. I like every color and have found uses for all colors - though I am more partial to brights than dulls or pastels, they all have their uses. DH does though - he detests the color black. I have a couple of quilts with black backgrounds and he mentions that he does not like black every time he sees them!
I have fabric types that I don't much care for - like 30's repros..most of them look odd to me. But, I have seen a few quilts that I like in 30's, so I can't discount that fabric class too much.
I really like this one, but DH says its too dark for him. Had beads on the flowers.
Note that all of the above have GREEN!
Saturday, December 12, 2020
2020 31 Day Blog Writing Challenge - Day Twelve - Favorite Color
My very favorite-est color is GREEN!
I dare say there is green in almost every quilt I have ever done. Can only think of a few where they have no green. My very first quilt (shown on the introduction to this blog challenge) was red, blue and ivory.
A table runner for Valentine's Day. Done in two different Valentine fabrics - I did a couple of blocks of a mystery quilt at Retreat one year.
A baby quilt in yellow, orange and white. Those are my second favorite-est colors!
My very first paper pieced 'quilt' (its so small its hard to actually call it a quilt!) A wee Amish block. Hand quilted with doubled black thread (I quickly learned that was a no-no!)
An embellished heart that was done in orange, black, brown and white. This was a fun one to do.
A pink and white pillow top that I did in Shadow Trapunto. I was in a class for this technique and my hopping foot kept squeaking louder and louder. I finally figured out to coat the part that was rubbing up against the needle bar with some glycerin soap.
A Quilt of Valor for my Dad. He served during the Korean War - was stationed in Argentia Naval Station in Newfoundland, Canada when I was born.
Friday, December 11, 2020
2020 31 Day Blog Writing Challenge - Day Eleven - Most Impactful Class
I have had several classes that I consider impactful.
My very first class covered hand quilting but I cannot remember the lady's name who taught the class. I took that class at a nearby quilt shop - The Tattered Rabbit. We gathered round her Q-Snap frame and took turns learning the rocking stitch. I came home with a small Q-Snap frame to practice.
Martha Nordstrand - the best applique stitch
I have taken several classes with Martha Nordstrand. The first one was on making prepared applique shapes. Her technique for making them was to either trace the shape or print it on un-scored sticker paper which was then adhered to the right side of the fabric. Then you flip the piece over and use glue stick and two tiny screwdrivers to manipulate the edges against the pull of the sticker. The second one was a technique using a 8 x 10 sized picture inside a page protector to build your applique - you traced the major shapes onto the sticker paper and turned the edges using the glue stick and tiny screwdrivers. But the BEST thing I learned from her is the applique stitch - come up from the back, right thru the fold and go back down thru the fabric you are appliqueing to 1-2 thread(s) behind where you came out. Reason being that if you go forward, the stitch is always going to be visible, but if you go backwards, the stitch will sink into the edge of the applique.
This is the flower piece from the first class.
This is the piece from landscape class - I used it as the center of a round robin for embellishing so 3 other friends worked on this piece - one did all the lovely ribbon roses, another did the embroidery on the house, the fields and the two pots on the left and another did the trees. I added the sheep (those white blobs!) and the wee horse button. The picture was of the very famous scene in Val de Or in Tuscany.
Rosa Rojas - Apliquick tools
Martha's mini screwdrivers foreshadowed the invention of the Apliquick tools by Rosa Rojas. I got to take a class with her last year at Road To Ca. At first I was not too convinced that I would like the tools, but I do. Took a class from Diane Kirkart where we used the tools, but then decided since Rosa was going to teach at Road, that I would take the class from the inventor herself.
This is 'Little Boy' from the class. And those wee buttons on the bottom...those are turned with the tools and it is almost magic how they turn out. Rosa can do even smaller ones (but she has had a LOT of practice!)
Jenny Bowker - tool to 'see' color value
The class I took from Jenny was one of her techniques where she does an applique 'center' then uses traditional blocks to build out the quilt until it is the desired size. First you have to decide on a center! Print it in color. Then you trace the essential elements onto a piece of plastic using a Sharpie. That gets blown up using a projector, which you throw up onto the wall where you have taped a piece of paper that is at least bigger than the block you are making! Trace the projected outlines with pencil, then go over it with Sharpie so the lines are dark. Then tape a piece of muslin over the pattern. Then the fun part starts - picking fabrics that will fill those shapes, In order to actually 'see' the colors, Jenny has this neat tool you make from an index card. Snip a small diamond in the bottom of the card and one or two larger ones nearer the top. Laying the small diamond on the original photo, you can use the larger diamond to audition fabrics. Corrects for the biases we all have when looking at something recognizable.
Thursday, December 10, 2020
2020 31 Day Blog Writing Challenge - Day Ten - Top Five Books
I had to think about this topic for a while! I presume these are my five top quilting books...but maybe not...though I did find 5 quilting books that I like. (I have a lot of books, not just on quilting - though there are a lot of those too!)
I have a whole shelf of quilting books. People give them to me. Or I get them off the recycle table at Retreat. I have bought a few!
Wednesday, December 09, 2020
2020 31 Day Blog Writing Challenge - Day Nine - Favorite Tip
Favorite Tip: Red Feather in the 4th!
Kind of tongue in cheek...but whenever someone asks me for a tip, that is my reply! (I think it came from a comedy routine about horse racing...but that is lost in the annals of time - could have been Jack Benny?)
I suppose you really want a tip about sewing or quilting though.
Not sure if I KNOW a favorite tip - but how about we cover paper piecing by hand?
Yes, you CAN paper piece by hand!
There are a few 'rules' for stitching.
First, use a largish needle so it pokes nice big holes in the paper - this makes tearing the paper off a whole lot easier. The holes will not be visible in your finished product, especially if you launder it.
Second, never stitch into the seam allowance - reason being you do not want to risk accidentally cutting off the knots. Start and end your seam exactly on the line, using lingerie or knicker knots - these are flat knots that will not cause lumps.
Third, every four to six stitches, make a small back stitch to lock the seam - this helps keep the seam flat when you tear the paper off.
Fourth, when you tear the paper off, get it a bit damp (not soaking wet, just damp!)
This table runner was hand paper pieced:
And this hummingbird was too:
Tuesday, December 08, 2020
2020 31 Day Blog Writing Challenge - Day Eight - Skills I Wish I Had
There is not much in quilting that I have not tried. Some techniques I do very well, some not so well.
I could be better at actual patchwork - I've thought about someday, when I am retired, possibly doing one of Bonnie Hunter's quilts just to get better at patchwork. but it does not seem like a very useful skill for the kind of quilting I actually like doing. Besides which, you end up with a quilt that looks just like a thousand (or more) others if you follow her color suggestions.
The major skill that I really need to work on is machine quilting. I have seen some really really fantabulous examples. I really need a bigger machine setup. I have done FMQ on Jenny Lind and its ok, but I don't have enough cleared off space to do anything big. I also have done FMQ on Aurora (the Red-Eye treadle) - that is pretty fun! But there again, Aurora is not set up to work on anything big. There was a guy - Tim Latimer - that did marvelous FMQ with a treadle, but I haven't seen him post in a while.
This is probably the best machine quilting I have done so far - Quilt is 'Fire Mountain' - from a quarter of a bargello quilt along at Retreat in 2016 or 2017. I worked on the applique vine at work during lunch for months. But. its only a wall hanging. I have yet to do a larger quilt with machine quilting that I think was done right.
Monday, December 07, 2020
2020 31 Day Blog Writing Challenge - Day Seven - Dream Project
Today's prompt is 'Dream Project'.
I have always wanted to make a Giant Dahlia and even joined a group that was making them but got side tracked with the Penrose Posey - which is a 'sort of a dahlia' but not quite. (All about the Penrose Posey) I still have the fabrics for the Giant Dahlia in a project bag. The pattern I have is from Quiltpox.com but the Giant Dahlia pattern is not available from that site anymore...good thing I printed it out when it was!
Would like to at least do one of the rosettes of the La Passacaglia quilt. Might do that soon, but need to order the papers and the plastic templates for the fussy cutting. I was going to take a class at Road to Ca with Diane Kirkart and even bought some fabric that I thought would look nice. But alas, she did not convert the class over to the online format that Road to Ca will be using this year. Here is her beautiful quilt that the class was going to be based on.
I seem to have a thing for flower shapes!
Sunday, December 06, 2020
2020 31 Day Blog Writing Challenge - Day Six - Oldest UFO
My oldest quilting UFO....is missing! I went looking for it yesterday. Its been in time-out for so long, it probably is in a time-out of the time-out.
Anyway - I will describe it.
Hot off my successful completion of my first quilt, I thought I would jump right in to designing my 'own' quilt. Such is the hutzpah of a beginning quilter! So I got some grid paper, drew some lines, dug around in my fabric stash which at that point was fashion design stuff and home décor stuff, found some fabrics that I thought would do and proceeded to whomp up Quilt #2. A Christmas Tree and a Star with Snow. I have the design somewhere but that would probably be buried in my quilting room somewhere too. I tried to recreate the design. All half square triangles and squares,
Kind of stiff green home décor fabric for the tree. Blue stuff for the sky, brown stuff for the tree trunk. Yellow perma press for the star and white sheet material for the snow. A wee green border of the home décor fabric with red cornerstones. At least...that is my recollection. Might turn out to be different when I see the actual errant top. But I do remember the green stuff as being pretty stiff!
All in all, a rather dismal quilt, though I think with the right quilting, and maybe adding something (what though?) under the star, it could be ok. My Sis said she liked it and if I ever wanted to give it away, to give it to her. The star is WAY too big, but I just had a thought about appliqueing a smaller darker yellow star in the center to see if the brighter yellow would be perceived as a halo. Eh. Hope I remember this when I do unearth this odd quilt.
I do have OTHER projects that are long term UFOs besides Quilt#2.
For hand quilting, its this project: there are 4 panels that I thought I would connect. But..I've lost interest in finishing them.
One of the longest term hand piecing project UFOs is a pattern from my friend Marcia Hohn's Quilter's Cache website called Prairie Flower. The date of copyright on that pattern is when I started making these blocks - Feb 22, 2004. Marcia published that pattern and I jumped on it! I had just gotten several purple and green Fat Quarter packs from WalMart and I had some sparkly white fabric for the background. I envisioned quilting in silver so I have several spools of silver thread in the project bag. I still really love these colors. Gotta work on this project. It deserves to be finished. Most of the finished blocks were done when we were on the very first So Cal Quilter's Run that my quilting buddies and I went on in 2004.
Saturday, December 05, 2020
2020 31 Day Blog Writing Challenge - Day Five - First Project (Sort Of!)
The prompt for today is First Project but we already learned about the project that turned me into a quilter and the second project is my oldest UFO (that is tomorrow's prompt). So I will tell you about one of my quilts that I have not fully covered already on this blog.
Susan Magnolia
This started as an ink painting in a class from Patt Blair at Road To California. Most of the class made their magnolias the same color as Patt's sample, but I happen to love Susan magnolias and they are pink! The final picture shows the pink better - its really a bit darker than the first picture shows. I love how it turned out.
Here is as far as I got in the class:
I took the unfinished inking to Retreat that year. Here is what it looked like during the Retreat - with my start of 'Cape Blanco Light' in the background.- that was a different class with Kathy McNeil - before the Apliquick tools were invented! I think it might be a completely different class if I were to take it now. I have promised myself - I.WILL.FINISH.THIS.QUILT!
I finished the background before I left Retreat but don't have any pictures of just the top. Found some really well matching fabrics to make the borders and binding in my stash. I hand quilted this with MonoPoly - including the stippling - which I had never tried by hand before, much less in MonoPoly - kept finding spots that had loops, though I swear I tried to look for those AS I was quilting! (MonoPoly is so clear it is hard to see.) A quick snip with the scissors and bury the tails if the loop were big, otherwise just bury the loop - I invested in a couple of those quick-thread - or - self-threading needles which made short work of the loops. The batting is wool - my favorite batting for hand quilting - the needle goes thru the wool like a hot knife goes thru buttah - just sayin'.
This quilt hangs on the wall in my living room.
Thursday, December 03, 2020
2020 31 Day Blog Writing Challenge - Day Four - Favorite Tools
Favorite tools (and other notions)....this could be a very long list! But, I will try to just pick my top few!
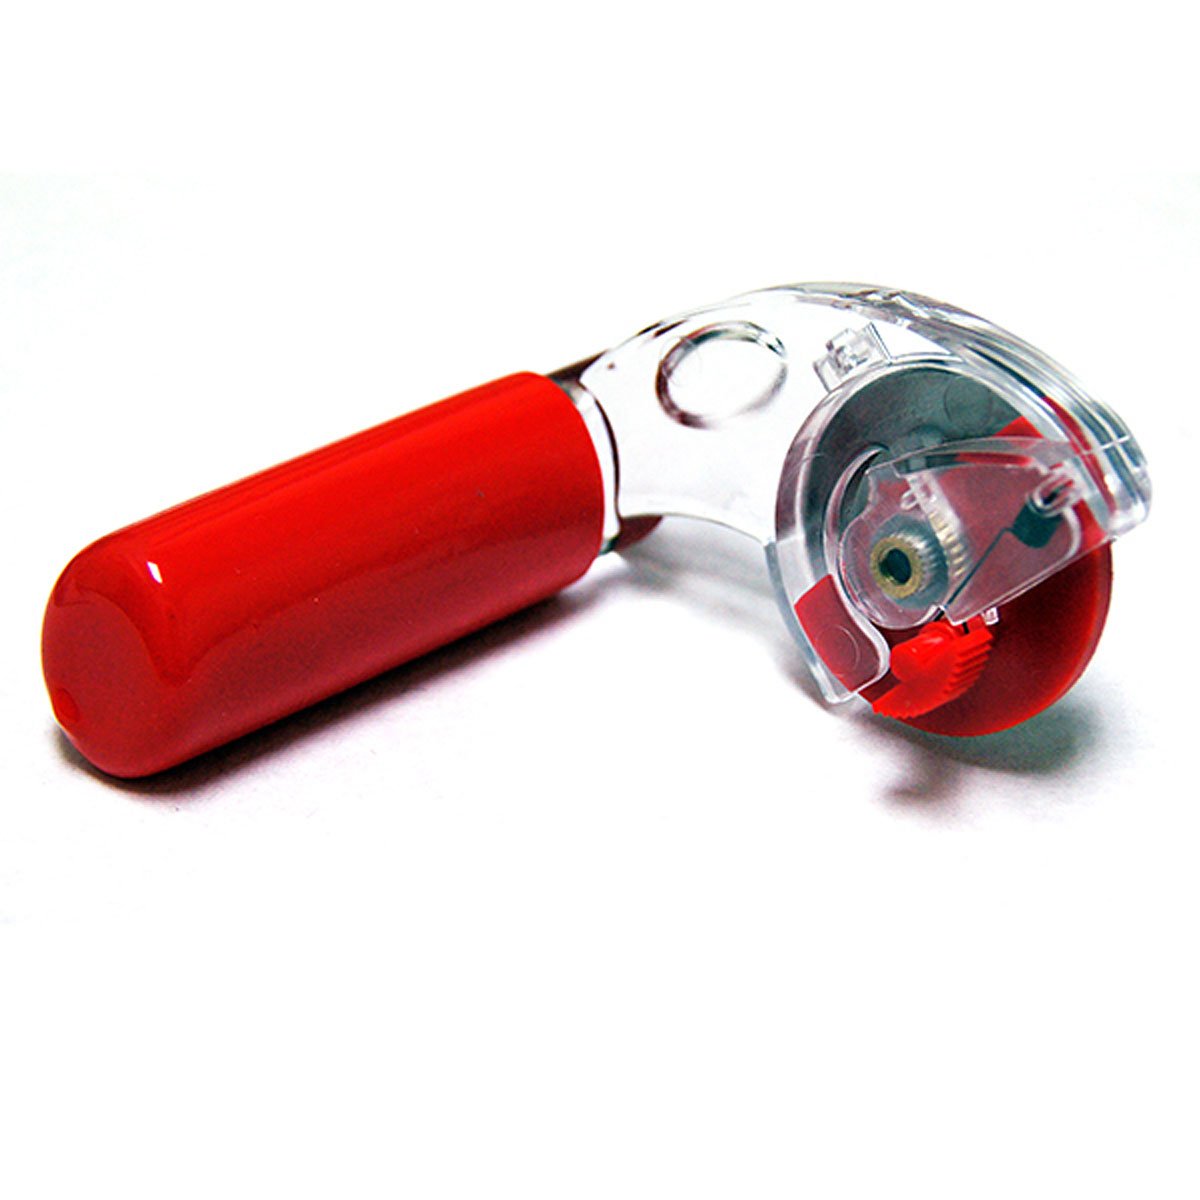
I love the Apliquick tools. I have the turning rods, the medium sized three hole scissors and some of the glue. The glue I find a bit expensive so I have switched to using Elmer's School Glue Sticks - the one that goes on purple but dries clear. I have some of the Apliquick fusible too. I want to get the box to hold the tools that I saw on Kathy McNeil's store - maybe Santa will bring that for me!
Thread stand. This is just one of those things that makes my life so much easier when I am sewing on Jenny Lind. I think it was one of my earliest quilting related purchases.
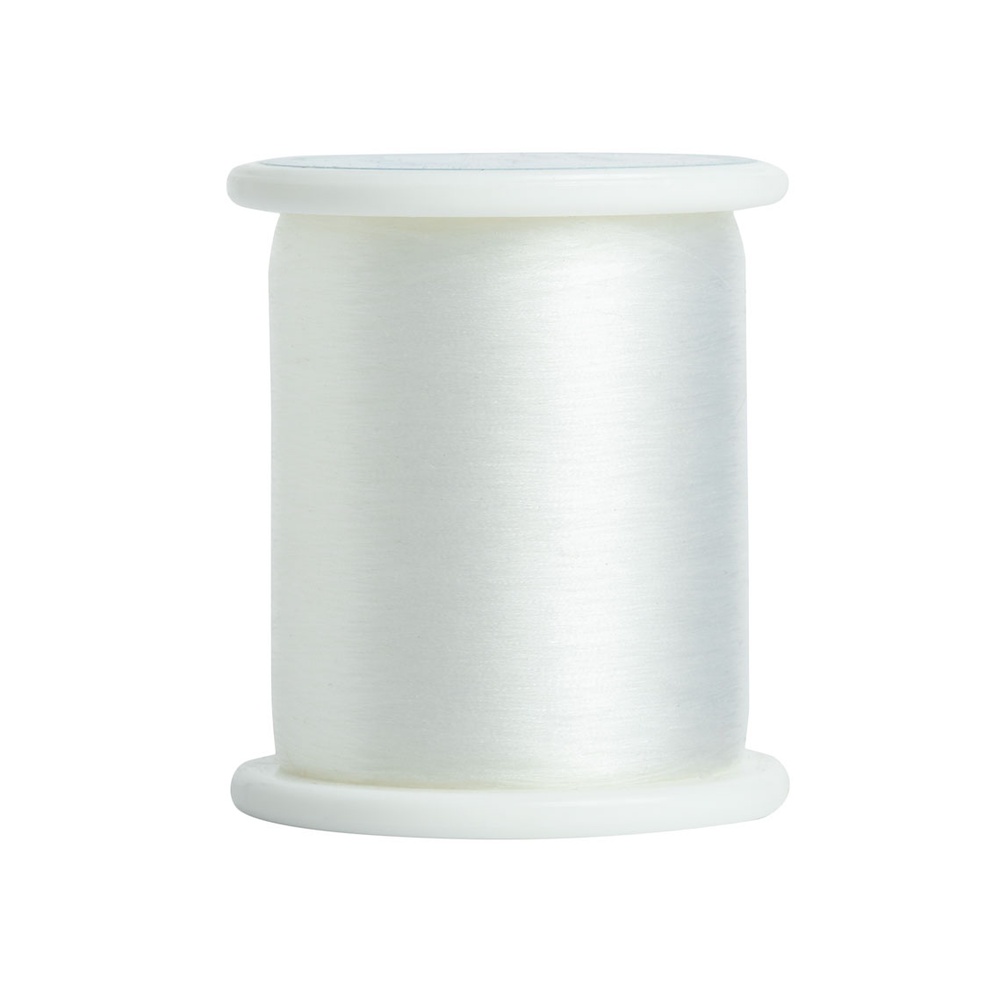
Superior MonoPoly. I use this for a lot of quilting, both machine and by hand (its' a little trickier by hand - but I have worked out the kinks and it does quite well.)
InvisiFil thread - for applique, I use this stuff or Superior's Kimono silk...but mostly this because a friend and I bought all the collection boxes one year between the two of us and she spooled out half of hers for me on bobbins and half of mine for her so we have the full gamut of colors.
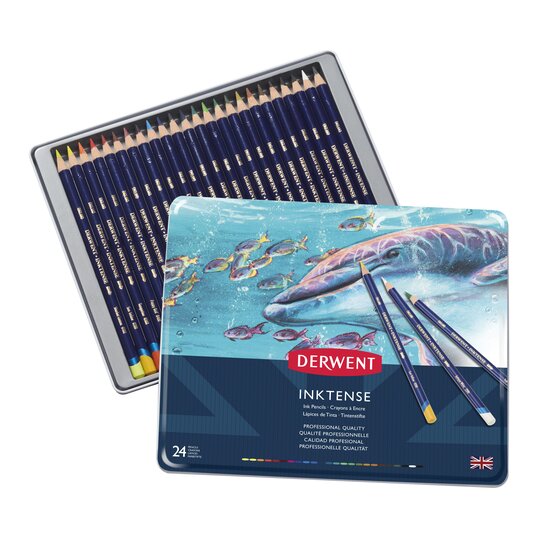
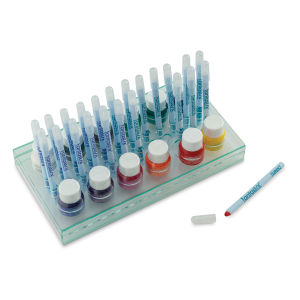
InkTense pencils and Tsukineko inks - I love color and I love that both of these are colorfast. The pencils are a bit more portable, but I do like both. I have used other products like the PaintStiks but the overwhelming odor on those is too much to bear!
And...I cannot do applique without this thimble! Comfort Thimble....it's getting harder and harder to find this thimble - I hope I never loose all of the ones I have! Only place I have found it lately is on the maker's website - ComfortThimbles.com - they are a wee company in Oregon. There is another thimble with the same name that is put out by Dritz... but it's nowhere near as good as this one. Most plastic thimbles make my finger sweat and then the thimble falls off. This one does not.. I have a large collection of failed thimbles!


